

The following instructions are for connecting to Windows in the labs. This service is only available for students who need access to run software that they cannot on their own PC/Mac and requires it to be enabled for your account. If you have need for this, please fill out a PC request form. If you are in CISC 220, CISC 221, or some other course that requires use of CASLab Linux, see the instructions for how to SSH to CASLab Linux.
Download the Microsoft Remote Desktop client from the Microsoft Store.
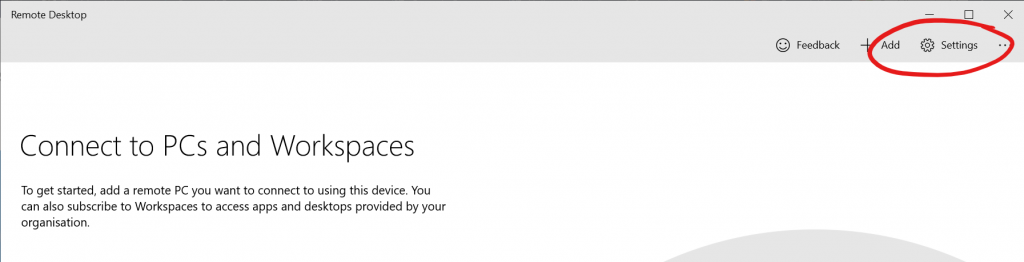
Click on the Settings button on the toolbar to open the Settings.
Let’s start by adding your user accounts. You’ll need two different account credentials to log in: your Queen’s netid and password (the one you use to log in to Office 365, onQ, etc.); and your CASLab username (same as your Queen’s netid) and password. (Note: if you’ve never logged into a CASLab VM or local machine, you need to make sure to set your password at auth.caslab.queensu.ca.)
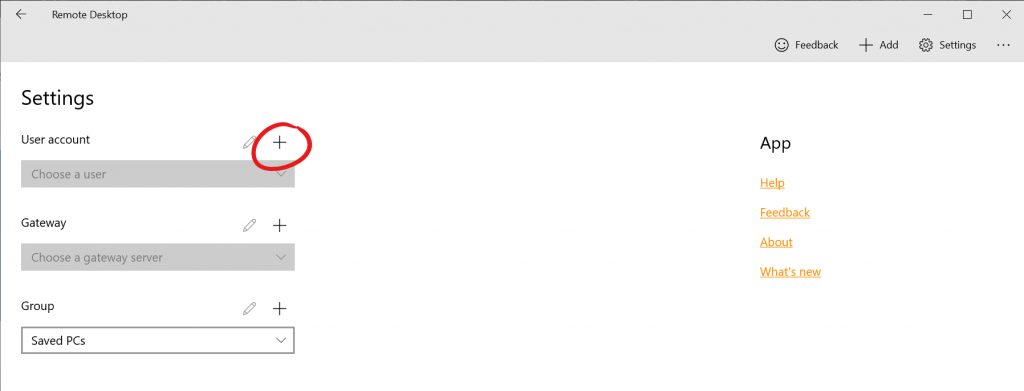
In the Settings window, click the “+” (plus) icon next to User account to register a new account.
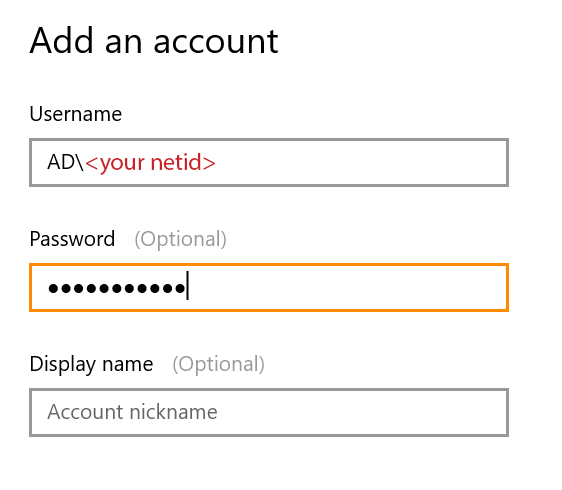
First add your Queen’s account. For the username, enter “AD\<your netid>” (no quotes), where <your netid> is your Queen’s netid. These are the credentials you’ll need to log into the Gateway.
Click Save and then the “+” (plus) icon again to add another account. This time, enter your CASLab username and password. Your CASLab username is “CASLAB\<your netid>” (no quotes), where is your Queen’s netid. The password is the one you use to log into CASLab (note that this is separate from your Queen’s account and not necessarily the same). If you’ve forgotten your password or haven’t set it yet, head over to auth.caslab.queensu.ca to set it.

Click Save to add the account.
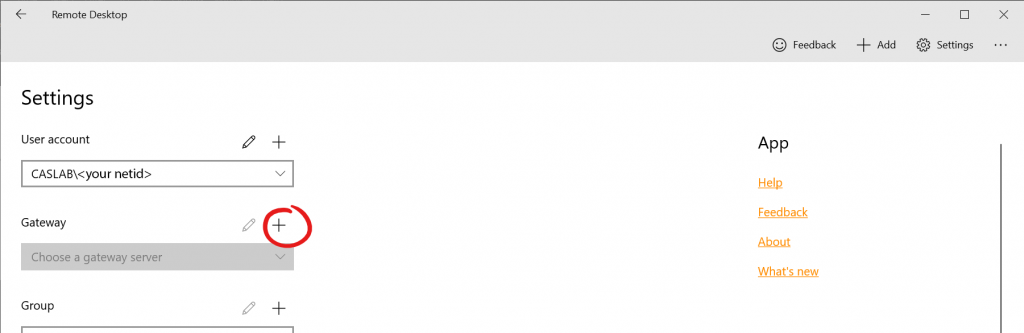
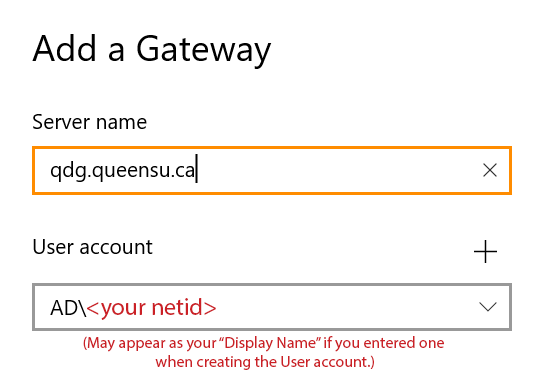
Because you’ll be accessing from off-campus, you’ll need to connect to the Queen’s Remote Desktop Gateway. Back in the Settings window, click the “+” (plus) icon next to Gateway.
For Gateway name, enter qdg.queensu.ca. In the User account dropdown, select your Queen’s account (the one that starts with “AD”). Click Save to add the Gateway.
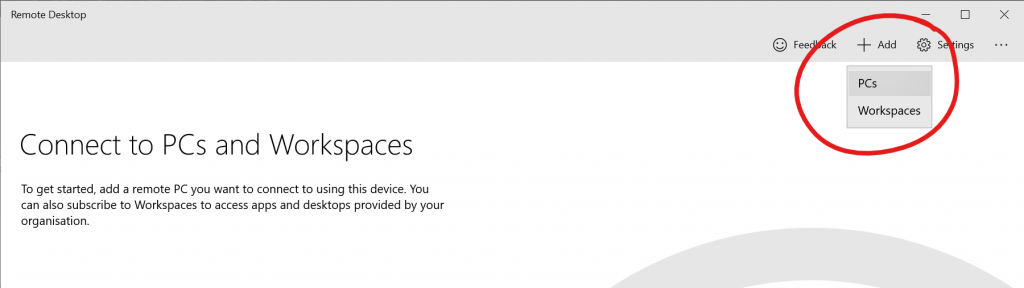
Click the Add button in the toolbar and select PCs.
In the resulting dialogue, enter the PC name (this will be of the form <PC name>.caslab.queensu.ca, where <PC name> is the name of the PC you were assigned. In the User account dropdown select your CASLab user account (the one that starts with “CASLAB”). And finally, in the Gateway dropdown, select the Queen’s Gateway (qdg.queensu.ca) that you created earlier. (Note: you will have to click “Show More” to see the Gateway option.)
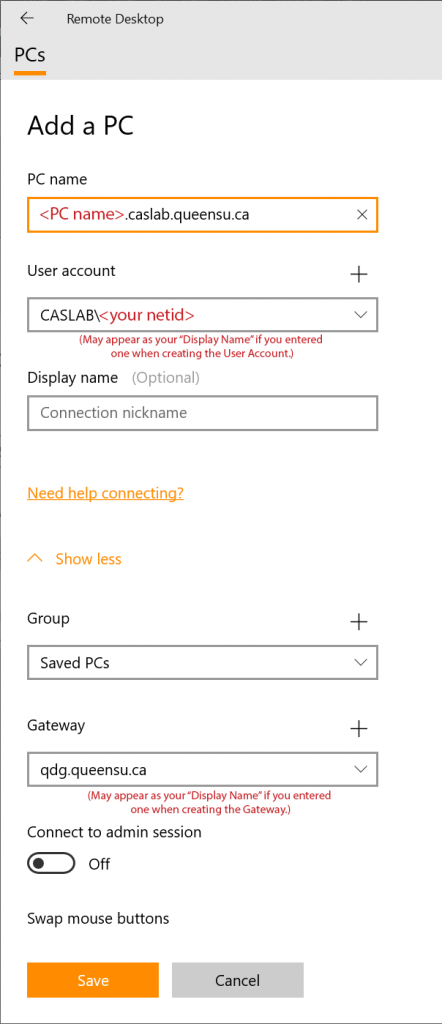
When you’re finished, click Save. You should now see the PC in the list.
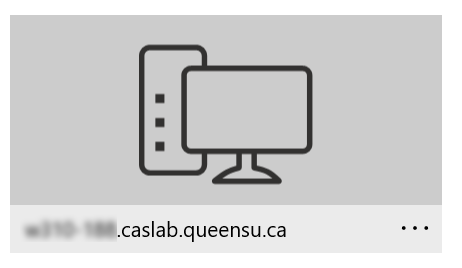
Simply double click to connect. You should be prompted to accept a certificate. Once you do, you should be logged in.
If you change any of your passwords at any point during the term, you must remember to change it in the preferences. If the PC you entered is being used, you’ll have to follow the appropriate steps to add another one.
If you have problems connecting, contact doug@cs.queensu.ca.
