CASLab Linux and Unix machines can now be accessed from home using X2go remote technology. X2go allows users to have full-screen sessions at nearly full speed even over fairly slow connections from home.
X2go is already installed on all CASLab machines.
Installing X2go on your machine
Download X2go for your platform (Win, Mac, Linux) and install it.
Mac OS X Installation Note
There are a couple of extra steps you’ll have to do to install x2go on a Mac. When you first open X2Go , you may get the following notification:
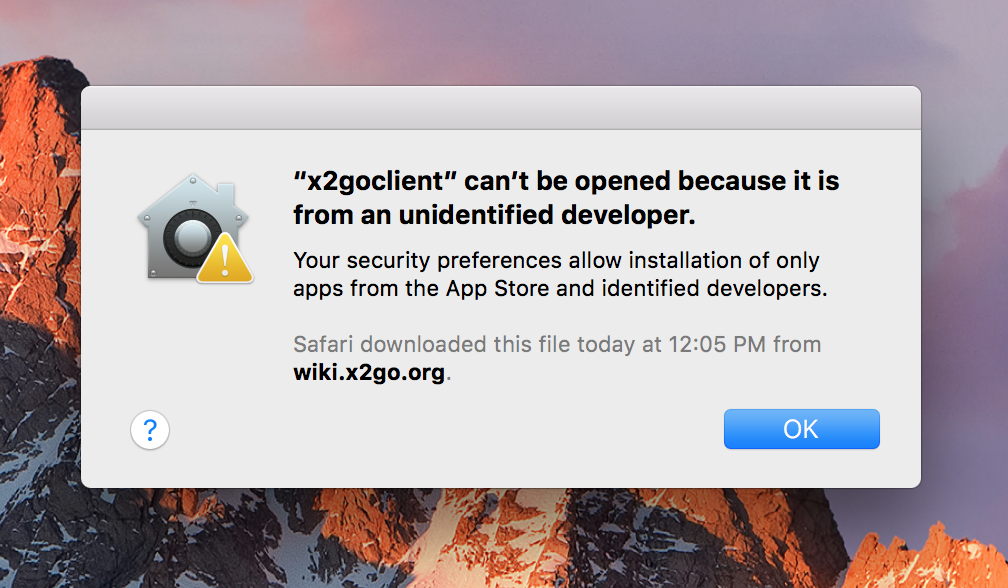
First, if you see this, you will have to go to your system preferences and then go to “Security and Privacy.” At the bottom of the window, it should display a message about X2Go being blocked. Simply click the “Open Anyway” button and you shouldn’t have to worry about it again.

The second step is to install an X11 server which can be obtained from the xQuartz homepage. If you don’t have it installed, you’ll get this notification:
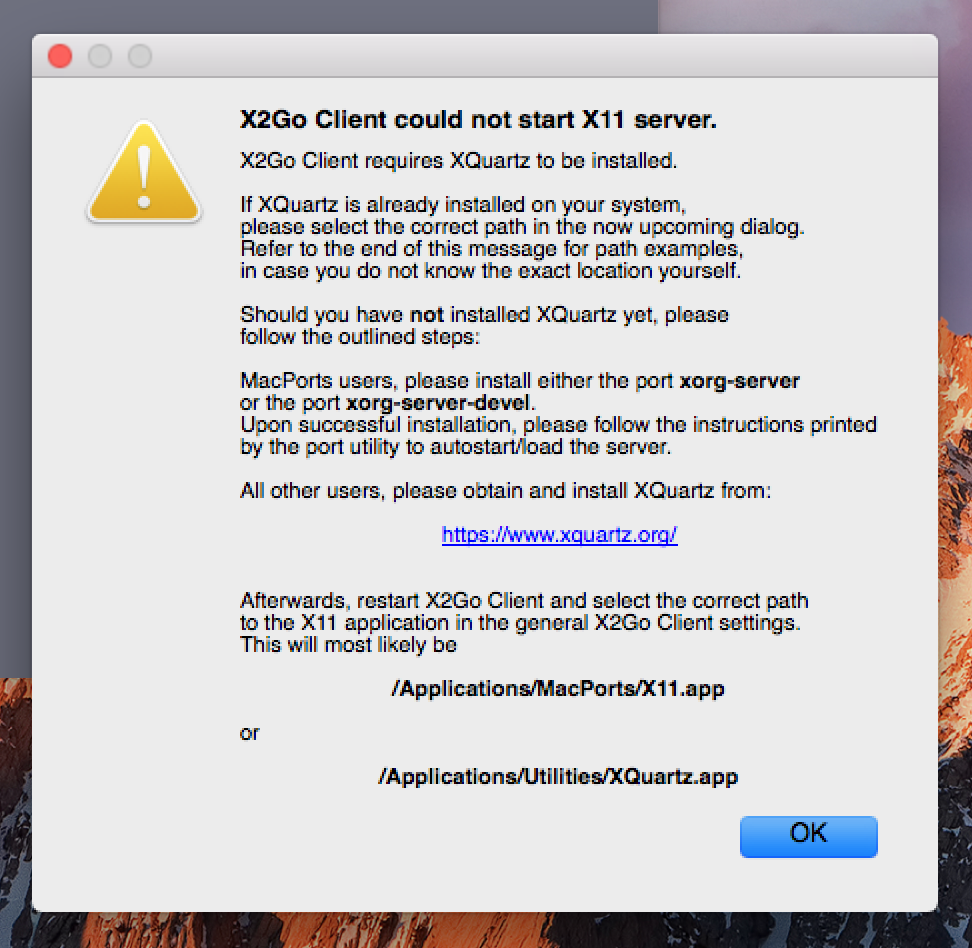
Download XQuartz from the XQuartz homepage or simply click the link in the dialogue (shown above). Installation is fairly simple. Click the icon and go through the package installation wizard.
After installing XQuartz, you must log off and log on again for it to be detected. After doing that you should be able to proceed with these instructions.
Configuring X2go
Once you’ve installed the X2go client, open it with this icon:
![]()
You will be prompted to start a new session:
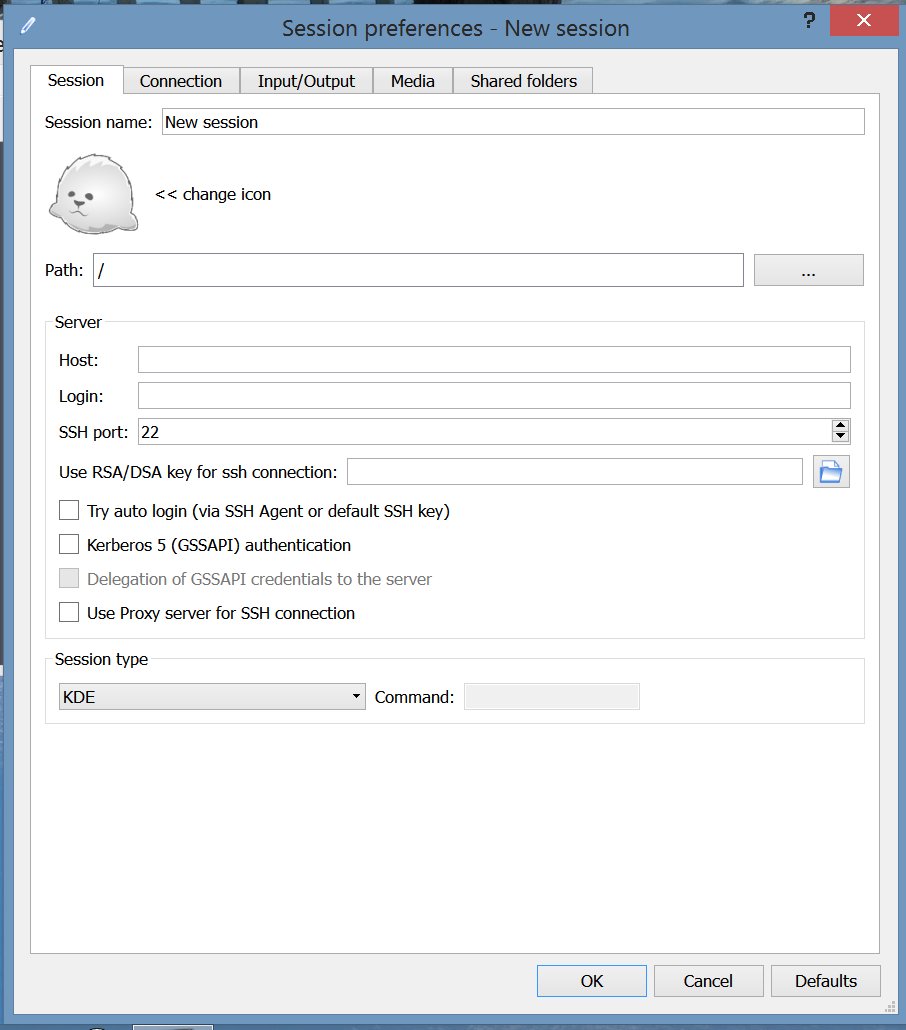
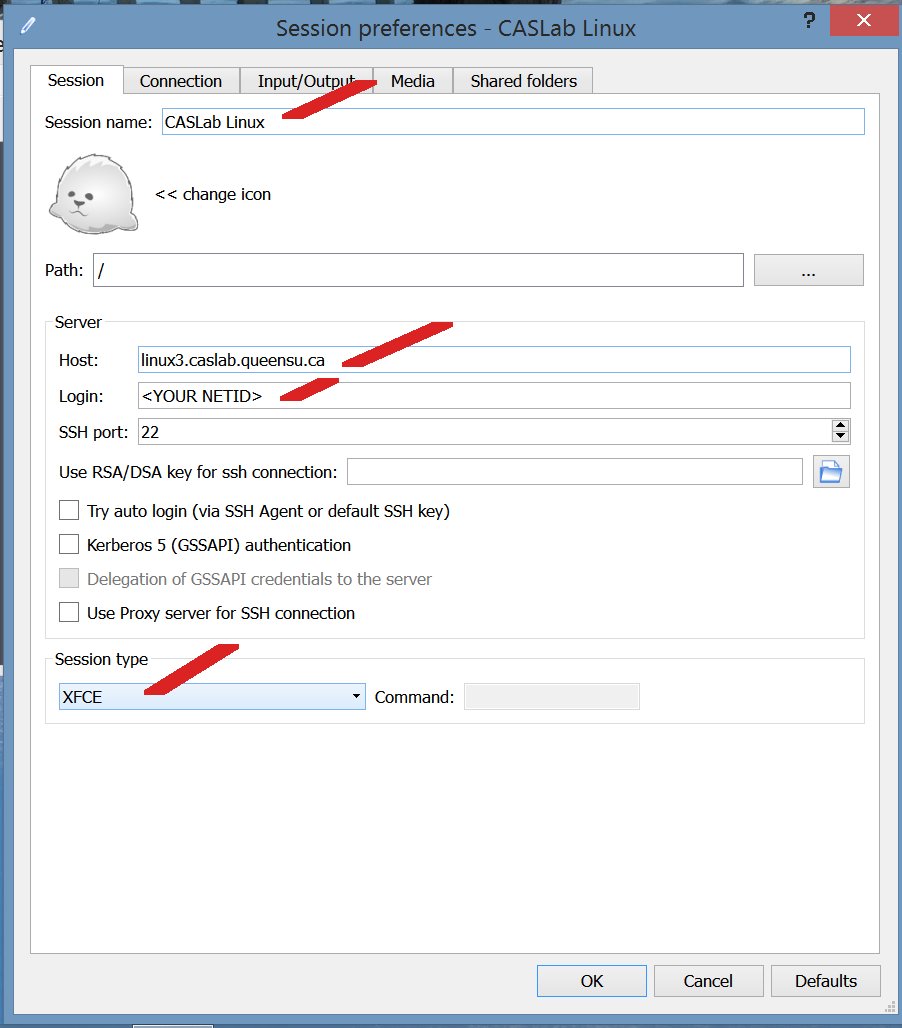
Fill it out as seen below. For the Host, use one of:
- linux1.caslab.queensu.ca
- linux2.caslab.queensu.ca
- linux3.caslab.queensu.ca
- linux4.caslab.queensu.ca
- linux5.caslab.queensu.ca
- linux6.caslab.queensu.ca
Once your session is complete, you should see something like this:
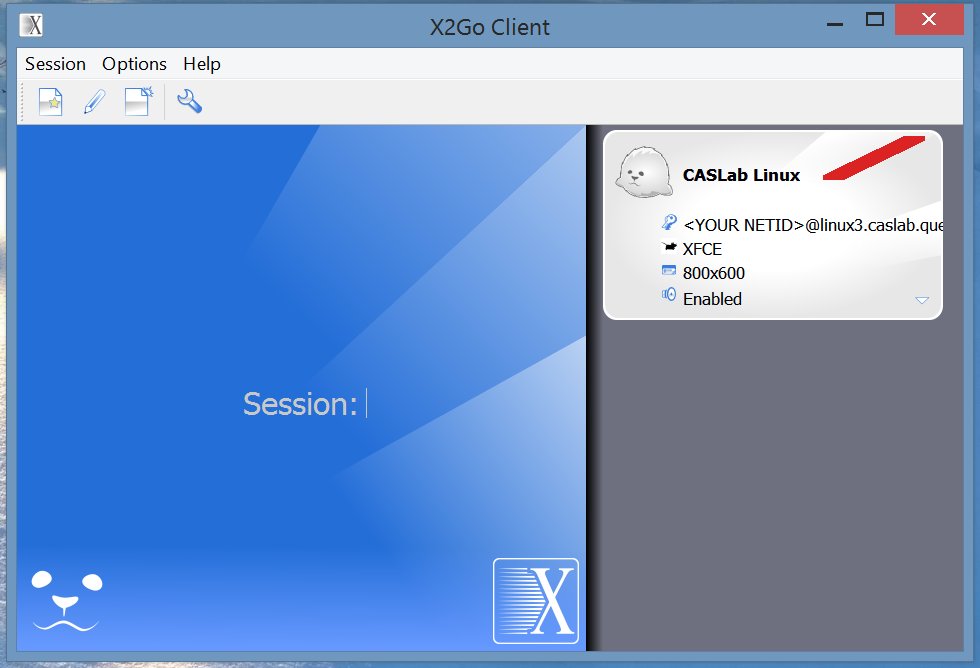
Click on the session “CASLab Linux” to the right. You will now see:
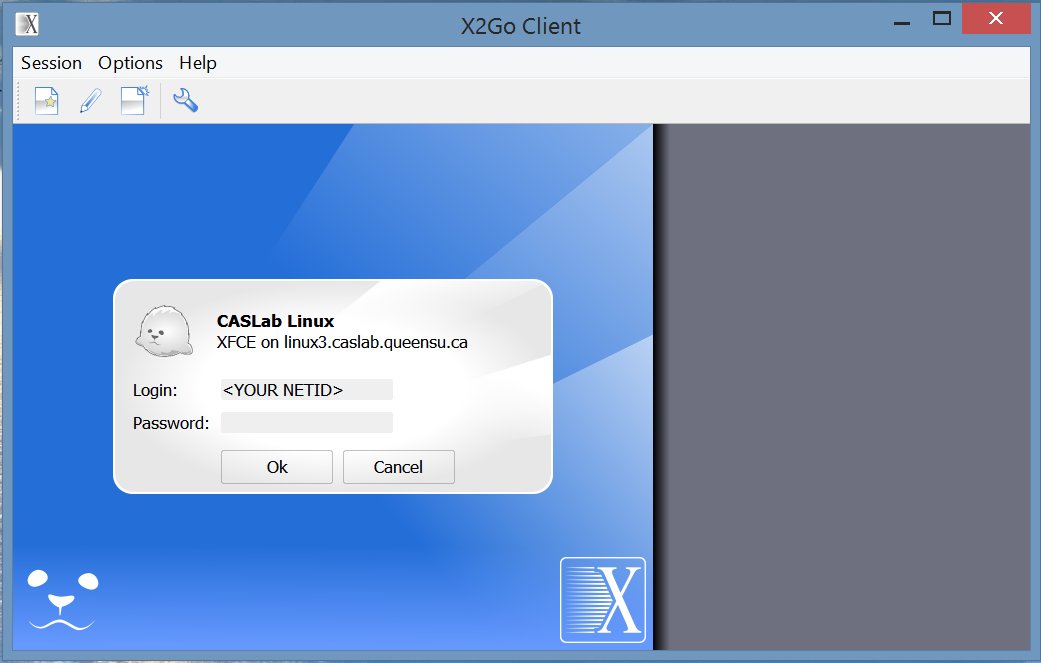
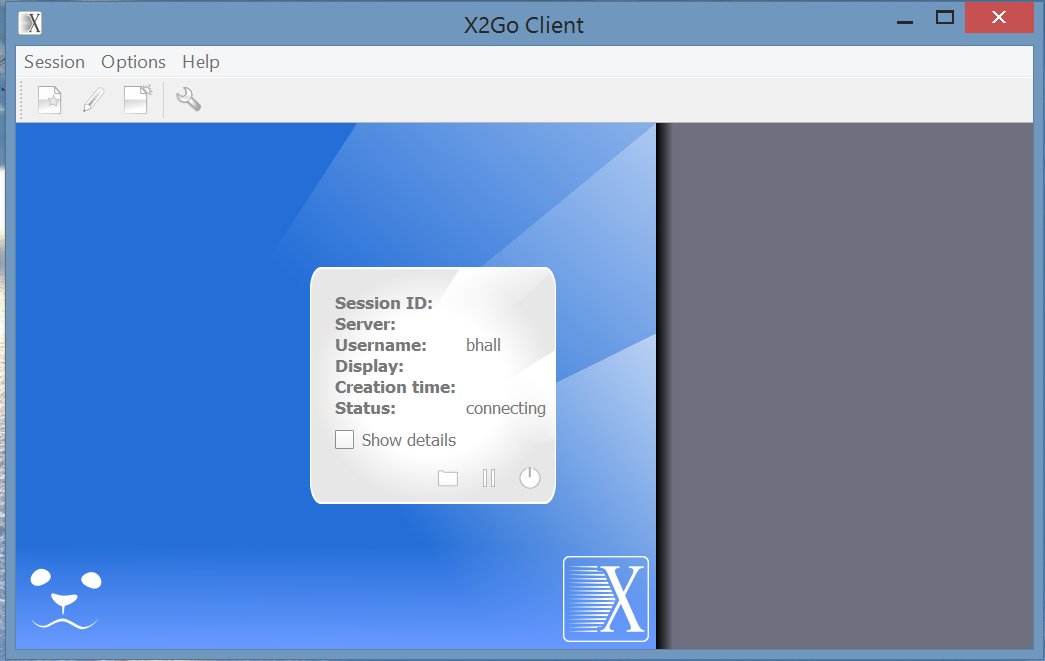
After you enter your password and click OK, something like the following will display:
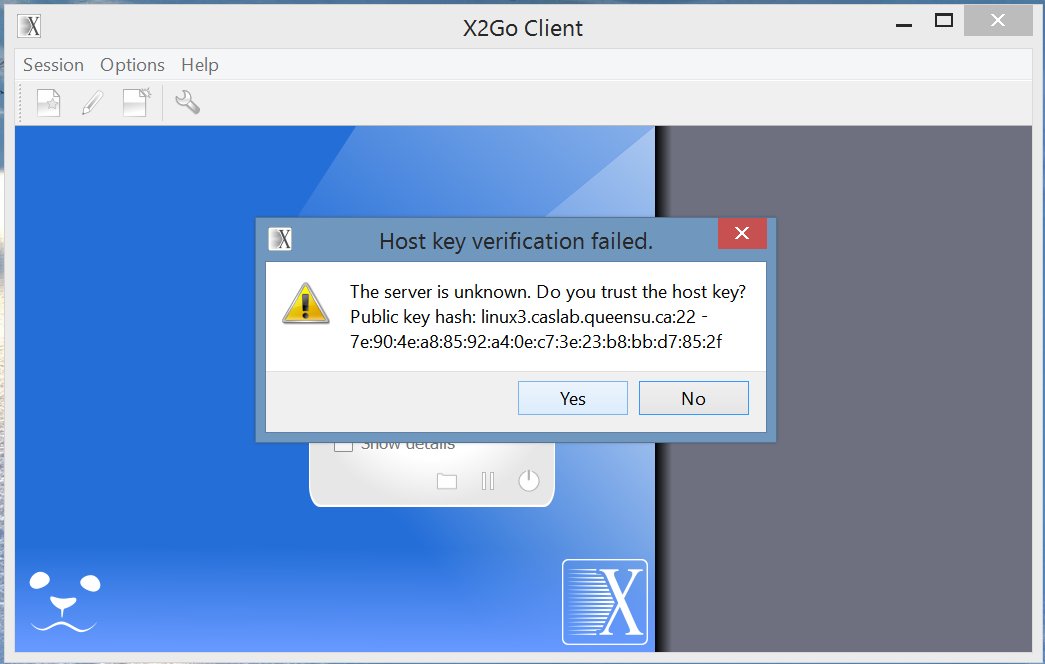
The first time you connect, you will be prompted to save the host key. Click “Yes.”
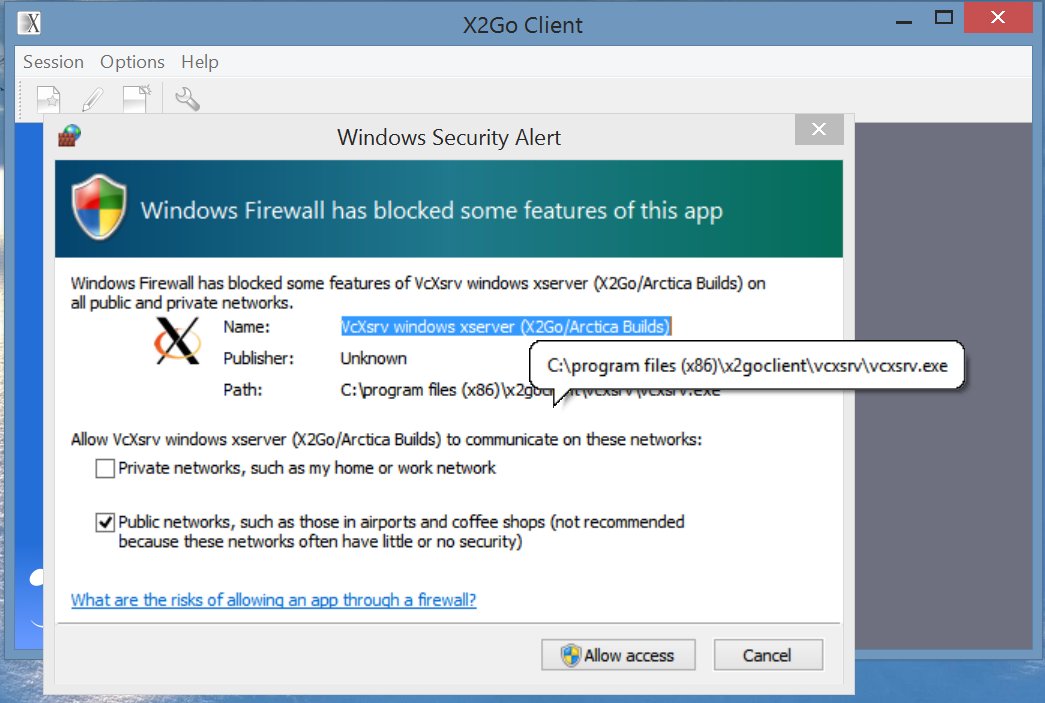
In Windows, depending on your firewall settings, you may see the following. Click “Allow access”
Once you’ve successfully connected, you will be presented with the standard CASLab Linux desktop. Congratulations! You’re connected!
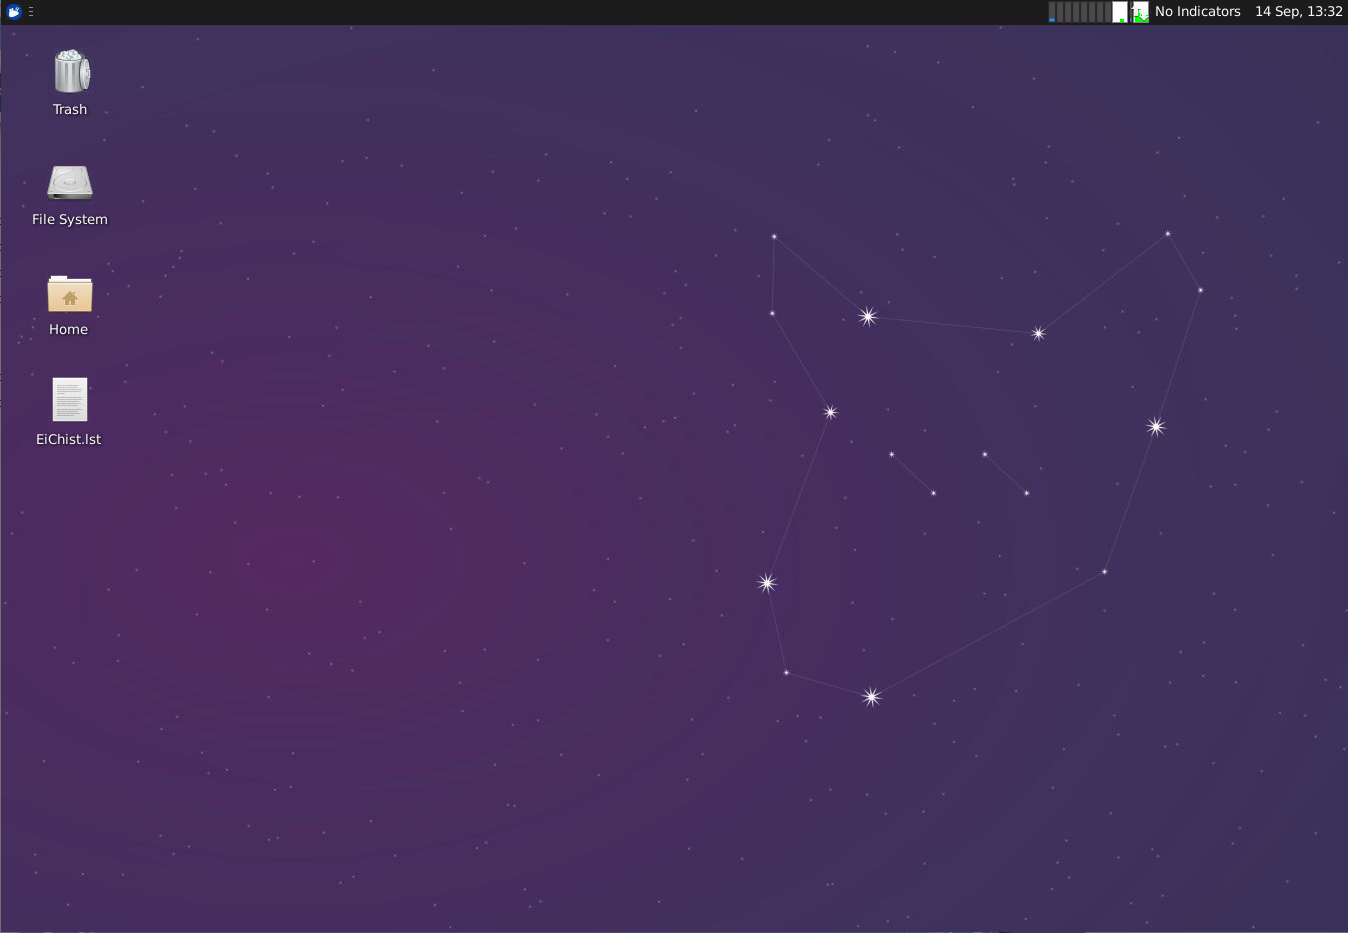
(Note: Depending on settings, your desktop may look a little different.)
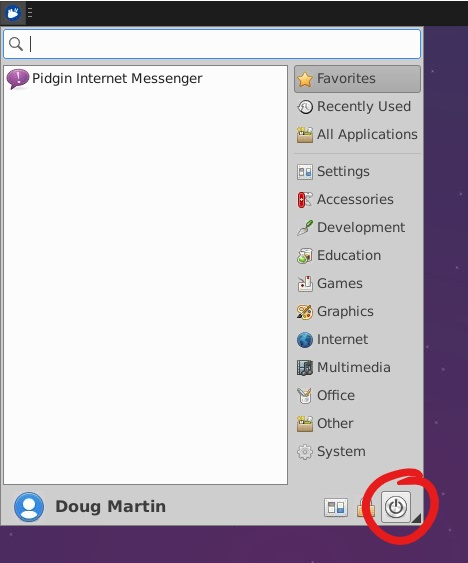
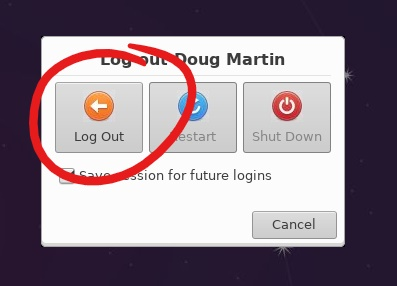
When you’re done, don’t forget to log out. You can do this by clicking the power button in the applications menu at the top left. (Depending on your settings, you may instead have to click your name at the top right of the screen.) If you don’t, your session will continue to bog the system down for others, even when you aren’t using it.