

PuTTY is a free SSH client for Windows. You can download it as an installer, or as a standalone portable executable. Either will do.
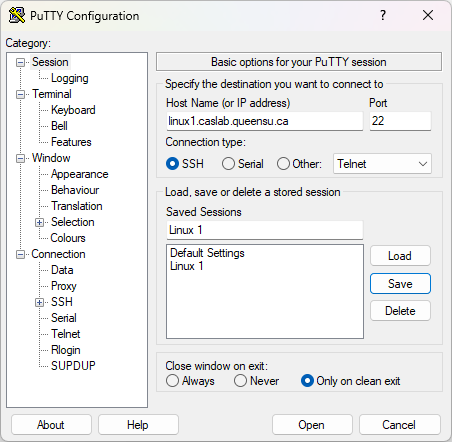
When you first open PuTTY, you’ll see the configuration screen. From here you may choose to enter the name of the server you are trying to connect to in the “Host Name (or IP address)” textbox and click the “Open” button to get going right away. But let’s save some time in the future by setting up a session.
First, type the name of the server in the “Host Name (or IP address)” textbox at the top. Make sure that “SSH” is selected and that the “Port” is 22. Then give it a in the text box under “Saved Sessions.” In this example, we will save a session called “Linux 1” that will connect to linux1.caslab.queensu.ca. Now, click the “Save” button on the right hand side.
Once you’ve done that, you may also wish to do the same for Linux 2-6 (ie. linux2.caslab.queensu.ca, linux3.caslab.queensu.ca, etc.). That way, every time you open PuTTY, you’ll have a list of all CASLab servers to choose from.
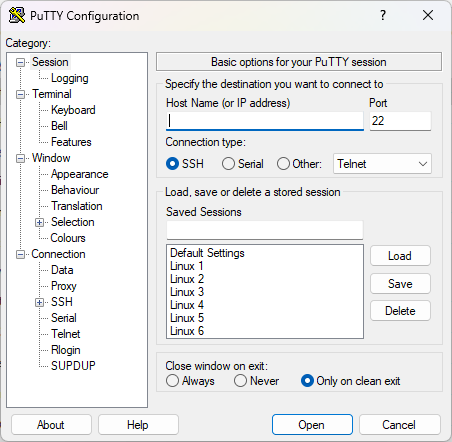
Next, double click on one of these sessions in the list to open it. Alternatively, you can click once the session to select it, then click the “Load” button on the right, followed by the “Open” button at the bottom. But double clicking is faster.
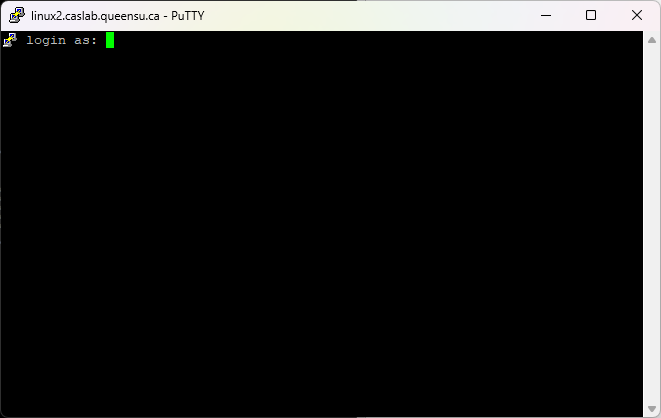
This will open a new PuTTY terminal asking for your login. This will be your Queen’s NetID. (Note: you may get a popup window asking you to accept an encryption key. This is normal.)
Next, it will ask you for your password. Note that nothing will show up to indicate that you are typing. This is normal. If you make a mistake, you can still press “Backspace.” If you want to try again, press “Backspace” on your keyboard a bunch of times.
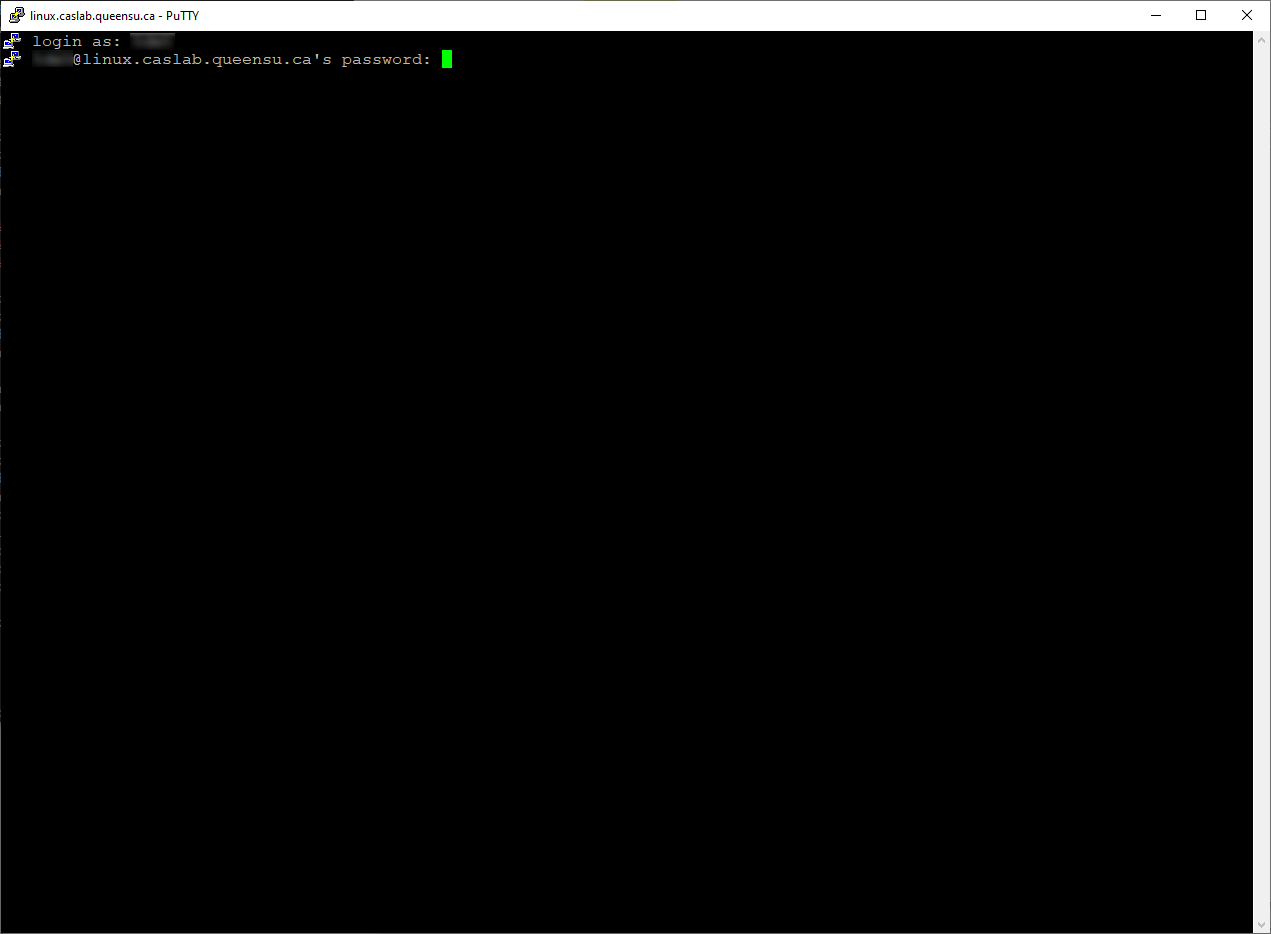
And voila! You should be successfully logged in to CASLab.

If you have any problems, please consult the FAQ or submit a problem report.
